Most people need to realize the volume of work required to construct paver stones. To make it easier, we’ve created an array of the best techniques for Paver Installation to consider and the most common mistakes to avoid.
To avoid common mistakes, follow these steps:
Draw A Realistic Sketch Of The Area To Be Worked In
The drawing you draw doesn’t have a software-generated layout. However, a sketch that is scaled can be useful for several reasons. It can help calculate the necessary materials and aid in on-site planning.
We suggest that you incorporate the drainage plan. It doesn’t need to be complex. Some people believe that they don’t need to think about drainage on the surface and believe that the water will flow down gaps in paver stones.
This is a major mistake.
Apart from permeable systems that are not permeable, only a small portion of the water (2-5 percent) can pass into the joints. Surface water has to be removed, requiring the slope to be 2 %.
Finally, a well-planned plan will allow the team at your retailer to assist you in adjusting your style and choosing the best items.
Don’t Try To Guess The Dimensions Of The Area
Be real regarding the space you require. Many customers say they would have liked to make their space larger. In the short amount of time and effort needed to make your project larger, it’s well worth the initial effort.
Many people need help visualizing the task after your patio is completed, and they have put the table, barbecue and a swinging bench there. There needs to be somewhere to move. This is the same regarding the front walkway as well as the driveway.
Your garden hose can be an excellent tool that can aid you in visualizing your project’s size. Set it up so that it forms the perimeter of the project. You can also place your furniture and other outdoor items to determine how much space you have.
Plan The Distribution Of The Materials
The next stage in the plan is the coordination of the distribution of new materials, as well as the elimination of any existing materials.
Be aware that you’ll have to deal with many items that must be separated. It is important to determine the location of things once they’re moved. Together, the components comprise a substantial amount of weight, so reduce the number of times you have to move them.
Be Cautious About What You’ll Complete
If you plan to undertake a large task (500 sq ft or greater), it could be more efficient to tackle it over two weekends: one to remove any existing excavation and materials while the other weekend is for Paver Installation and base.
To reduce the time (and your back), think about employing a contractor to complete the excavation; you’ll only need to install pavers and base materials.
When you have a strategy set, the preparation phase can begin, and you can observe your ideas develop.
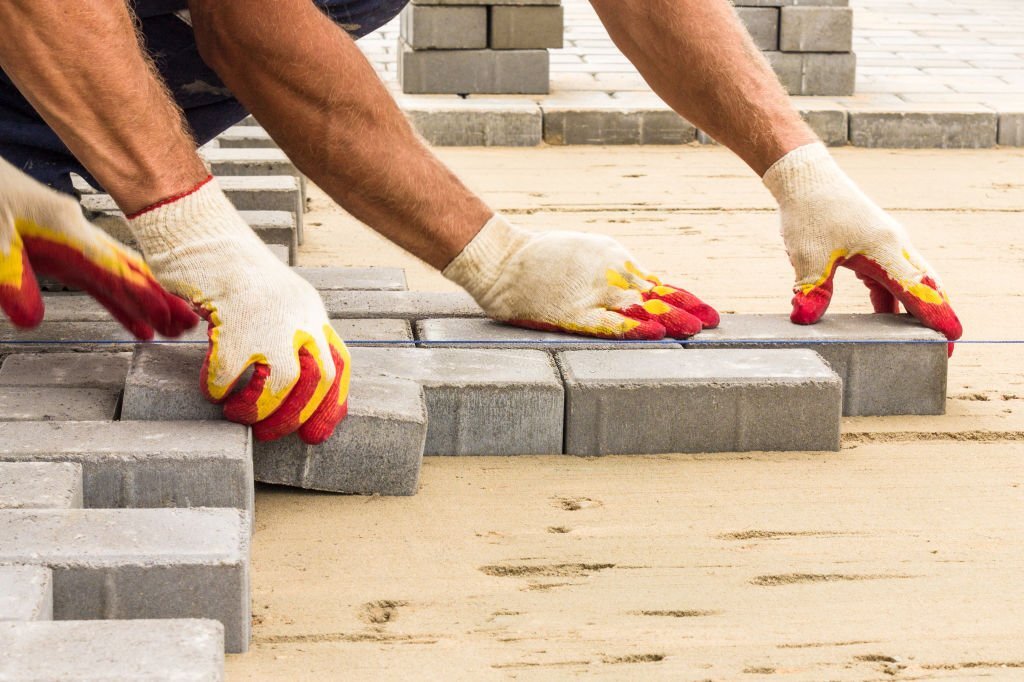
Begin By Placing Pavers On The Longest Straight Wall
Never think that anything is straight. Concrete curbs and foundation walls are only sometimes straight.
Always use an appropriate string line placed approximately 1/4″ off the wall, and follow it. A small gap on a wall won’t be noticed after the project is completed. If you begin your pavers in the wrong line, it will only worsen as you progress away from where you started.
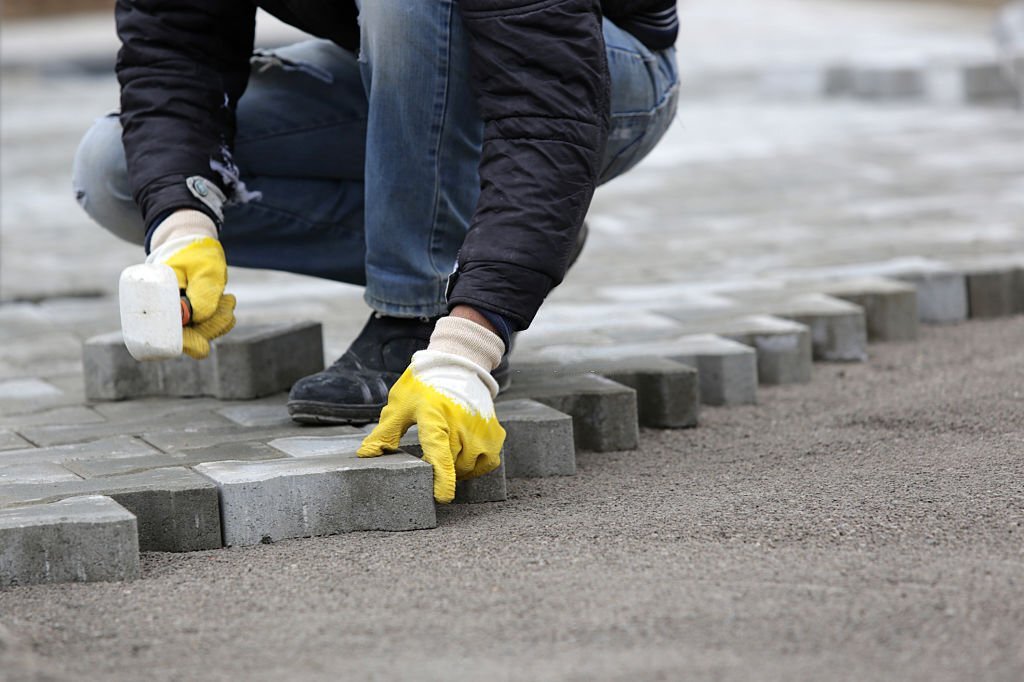
Do Not Smash The Pavers
Intentionally Paver Installation too tightly can cause issues later on.
The ideal distance between pavers should be 3 millimeters ( 1/8 “). I don’t think you should determine the distance, but place them next to one another. It is recommended to stop every 4 feet and draw an unison line across the face of the stone; using the help of a screwdriver, you can adjust the face in line with the string line.
Avoid hammering on the stone to make it straighter. It is best to spread them out.
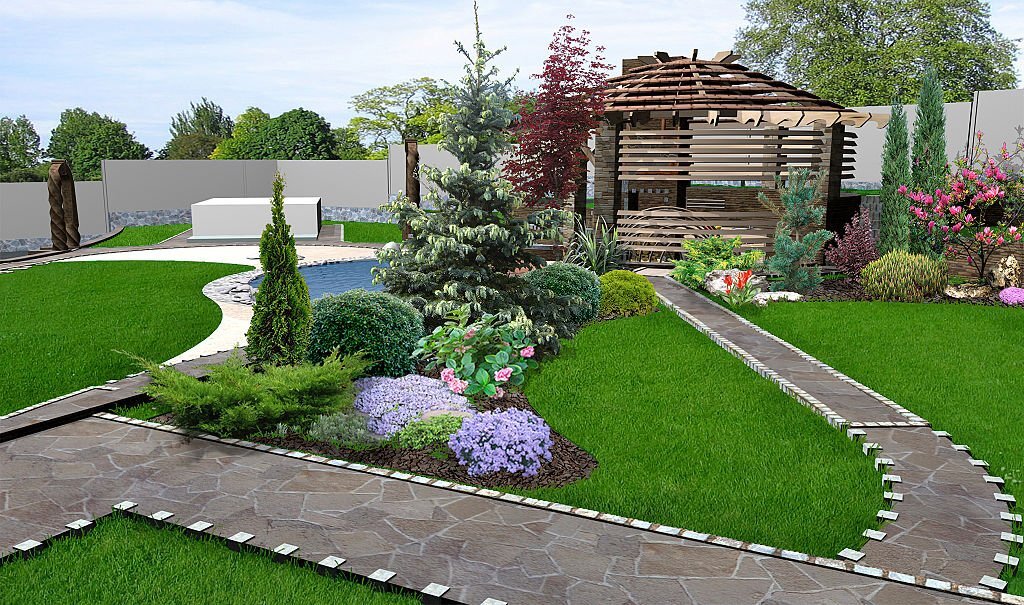
Make Sure You Use Edge Restraint. Yes, You’ll Need It!
Every project, no matter its intended use, should be controlled. If pavers aren’t restrained, they will gradually “creep” into the softer surrounding materials, and huge gaps between pavers will be visible within the space.
The majority of jobs have some form of edge restraints already in place, for example, the foundation wall or wall of the garage, but every other area requires edge restraints. Make use of the invisible edge system built into the base materials.
These simple edge restraints also let you refine your design as they can be adapted. If you’re designing an arc (curved) region, you can put the edge restraint, place a few spikes inside, and then sit back, look at the curve, ensure you have an even flow to the work, and then secure it.